
Release Tight Hamstrings Immediately With These 5 Tips
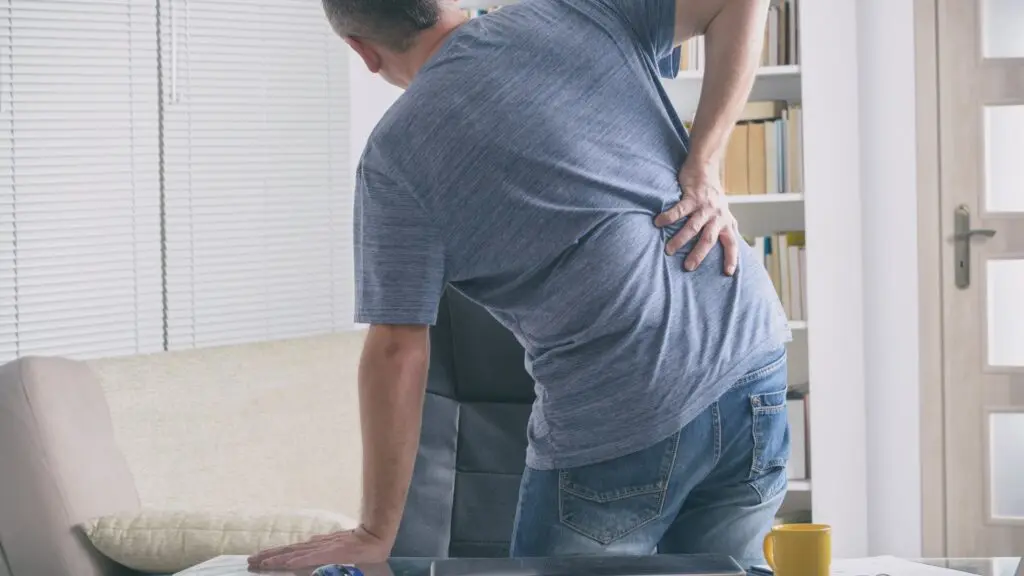
Hamstring tightness is a major factor in many with lower back pain, not least because the segments of your lower lumbar spine, the L4-L5 and L5-S1 joints are the most commonly injured segments. The nerves associated with these levels control your hamstring muscles. So when you’ve injured your lower back, it’s really common for the hamstrings, and other muscles down the back of the legs, to stop working properly. Stiffness creeps in and they can tighten up.
Today we’re covering a quick test to see if your hamstrings are tight or just tense, then we’ll get into the 5 tips to help you release those tight hamstrings, in order!
Test your hamstring flexibility correctly first
It is important to distinguish between tense and tight hamstrings, one meaning the muscle is simply not relaxed irrespective of lengthening ability, the other meaning the muscle is actually not allowing for “normal ranges of movement”. It is very common to find “tense hamstrings” that actually allow more movement than is normal, and amongst other things, these hamstrings are tense because of weakness more than anything else. Stretching them should not be your priority. So let’s see if you need to do stretching because your hamstrings are tight, or if you’re hamstrings are flexible and you need a different video!
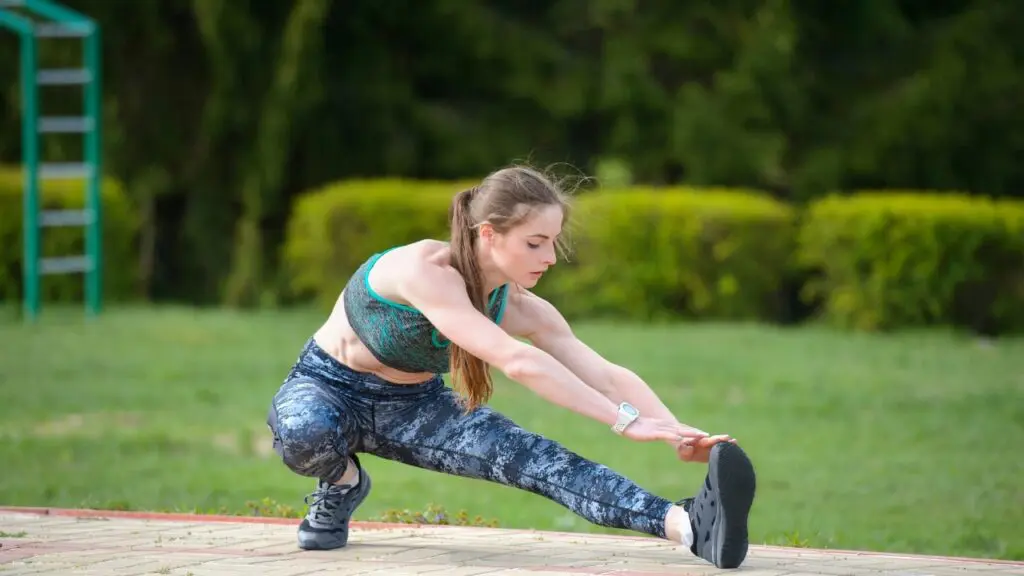
Start standing with your feet shoulder width apart and hold a neutral spine, then slowly lower from the hips without rounding the spine. The average normal amount of “straight leg flexion” at the hip is 70 degrees without spinal involvement. If you’re getting past this to 90 degrees or even more, you’ve “passed this test” and your hamstrings likely do not need more stretching! If you failed like I did, you need to read on!

Stretching your hamstrings for instant improvement in your hamstring flexibility
By following these next steps you’ll be able to immediately increase your hamstring flexibility and therefore lessen the pull your hamstrings place on your injured lower back. Reducing low back pain and helping you on the path to a pain free day! Try these in order and preferably when you’re well hydrated and your body is not cold.
Step 1: Focus your stretch to the hamstrings and not your back
The biggest mistake that people make when they say “oh i can touch the floor, my hamstrings were fine!” is that they have just been stretching their lower back not the hamstrings. Movements like the yoga forward fold are mostly lumbar flexion and not improving your hamstring mobility at all! You’re just weakening your lower back!
Instead, like the test we did, we’re going to need to focus the stretch to the hip joint. Use some core engagement to tighten your abdomen and lower back, so you can move only your hip. As we go into the hamstring stretch holding for 30 seconds, you will feel the stretch in the back of your thigh much more effectively this way, without running the risk of making a lower back injury, such as bulging disc, worse!
Note: having a slight bend in the knee will help you focus the stretch to the belly of your hamstring muscle, and not the back of your knee!
Step 2: Find a comfortable hamstring stretching position that you can relax into
Relaxed stretching makes for a little more effective stretching, it’s no good you being so off balance that you can hardly focus on “letting go”. When doing the hamstring stretch variation such as being sat at the desk and leaning on the desk, or kneeling down next to a support can help you relax for the 30 seconds required for the effective stretch to be done. It will also make the next steps much easier to do! So take a moment to find a comfortable position where you feel comfortable to relax into the next stretching technique.
Step 3: Add in the use of more effective hamstring stretching techniques
Some great “hacks” for stretching include the PNF stretch which is where we use muscular contraction to trick the muscles to relax further. This can work really nicely for instant improvement and then combined with a “long hold” stretch for 2 minutes like we’re going to do now, will lead to some noticeable improvements which we’ll retest for at the end of today’s guide.
PNF stretching for your hamstrings:
These are done in the same “comfortable position” that you’ve established in “Step 2”. All you’re looking to do is pop yourself into the stretching position where you can feel the stretch in your hamstring muscle. Hold the stretch for 10 seconds or so, then activate your hamstring by trying to drag your heel into the ground or along the floor. The contact with the ground will stop your leg from moving, but activate an “isometric” – static – contraction of your hamstring muscle. Hold this contraction for 10 seconds. Take a big breath and then let it go relaxing further into the stretch. You can also press down ever so slightly on the thigh to add a little extra stretch.
Long hold stretching for your hamstrings
Once you’ve completed the hamstring PNF stretch you can continue to relax into the stretch for a further 90 seconds making for a nice “long hold” stretch, this is where being comfortable and relaxed in your posture can make a big difference. As the 90 seconds goes by you’ll find you can tease out a little extra stretch in that hamstring and improve your mobility further!
Little tips such as sticking your bum out a little more, and pressing down slightly on the knee will also help you re-adjust and continue to improve the stretch, making sure at all times you’re feeling the stretch in the muscle not the tendons behind the knee.
You can do this as a separate stretch from your PNF stretch for 120 seconds but it does feed on quite nicely after the PNF so depending on your preference, do it immediately after or separate the two stretching techniques.
Step 4: Add in a massage gun for even more release of your hamstrings
Especially during the long hold, using a massage gun like the Therabody Theragun can be a great option for two reasons. Firstly, as you’ll see and feel, it makes a real difference to the degree to which your hamstrings release when doing the stretching.
For general use simply run the massage gun up and down your leg as you do the stretch, focussing on bits that feel more sensitive and tender, but not pressing too hard! Do this for the duration of the stretch, either the 30, 90 or 120 second period.
The second reason you might find it helpful is that sometimes when doing these powerful stretches, you’ll feel the strength of the stretch, using the massage gun for its “vibration” can actually help distract you from the intensity of the stretch aiding your process of relaxation.
Step 5: Add in an active stretch using weights to help you release further
Especially as you get stronger, the use of weights doing a movement like a hip hinge or “b stance hip hinge” can really help you get a little more assistance in stretching these tight hamstrings. By recruiting the strength of your hamstrings, you’ll feel that after they contract and slowly lengthen as you lower, you can go lower still. Combining all of these steps and finishing with this technique will guarantee that you’ve improved your hamstring flexibility.
Try two or three reps of 20 to 30 seconds to finish up. Just make sure that you feel confident enough in your lower back and core strength to do this one. It is not the right move if you’re early on in your back recovery journey. We typically would advocate this kind of stretching strategy within the workout for members in the Phase 4 of the Back In Shape Program. This is where the individual is already using weights or resistance in their exercises and has established competent core and spine control.
This thoughtful approach to movements like a hip hinge can even be done within the context of a workout, working to go a little lower with great control when doing your reps of the relevant exercise.
Bonus Step: Make improvements in your strength a priority
Whether or not you passed the original test, if you’ve made it this far this last step is important for us all. The stronger your muscles are, the more happy they will be to allow you to go further into a “stretched position”. Yes there are extreme exceptions to this, but for the average person, especially with low back pain, the body knows you’re not strong. It’s almost like your body has put its own limits on, like stabilizers on a toddlers bike to make sure you don’t move further than the body is capable of handling. Especially if you have lower back pain or injuries, building the strength of these muscles should be a priority, with stretching a supporting addition.
Too many people go round and round in circles stretching all day when they have back pain, expecting their lower back pain to get better, when instead they need to improve their strength first to provide more support. Ultimately this error leads to no long term benefits of stretching as they’re constantly being undermined by “flare ups” in the back injury.
Final thoughts on hamstring stretching for lower back pain
Hopefully you found this video tutorial helpful, retesting after the 5 steps is a great way to validate that instant improvement. With time you’re going to return your hamstrings to a “normal” degree of flexibility. In the short term, alongside your other back rehab work, these stretches can act as temporary activities that quickly lessen the strain on your lower back each day. For more help with your lower back rehab we have two resources to help you. The first is the complete free “Fixing Back Pain Masterclass”, an 80 minute live workshop with demos and a plan to fix your back pain. For those of you wanting the best support from us and a comprehensive step by step program, then membership to the Back In Shape Program is the perfect option. You can check it out using the link below.

Reference for hip flexion figures from Clinical Orthopaedics & Related Research Journal 2008


Very helpful video. Thank you, Mike.
It’s a pleasure, thank for the comment Samuel 🙂
This video is an excellent recap Mike, very clear and easier to follow. Thanks
Thanks Mary-Ann! 😀 It’s really effective too! 😀